Introduction
Photography is not just about capturing moments; it’s about crafting stories, painting with light, and evoking emotions. While many photographers focus on composition, exposure, and subject, there is one element that can elevate an image from simple to extraordinary—lens flare. In modern photography, lens flare is no longer seen as an error or distraction; it’s a celebrated creative tool. One of the most sought-after tools for creating stunning lens flare effects is Photeeq Lens Flare.
This unique software allows photographers, both beginners and professionals, to add lens flare effects that mimic natural light in various forms—from soft, glowing flares to more dramatic, streaked bursts. The result is an image that not only captures the subject but also conveys atmosphere, mood, and movement. Whether you’re working with landscapes, portraits, or cityscapes, Photeeq Lens Flare helps you introduce a new layer of visual depth to your photographs. This blog post will delve into the benefits of using Photeeq Lens Flare, how to apply it to your images, and how it can significantly enhance the SEO value of your content. So, let’s take a journey into the magic of Photeeq Lens Flare and explore its creative potential!
What is Lens Flare?
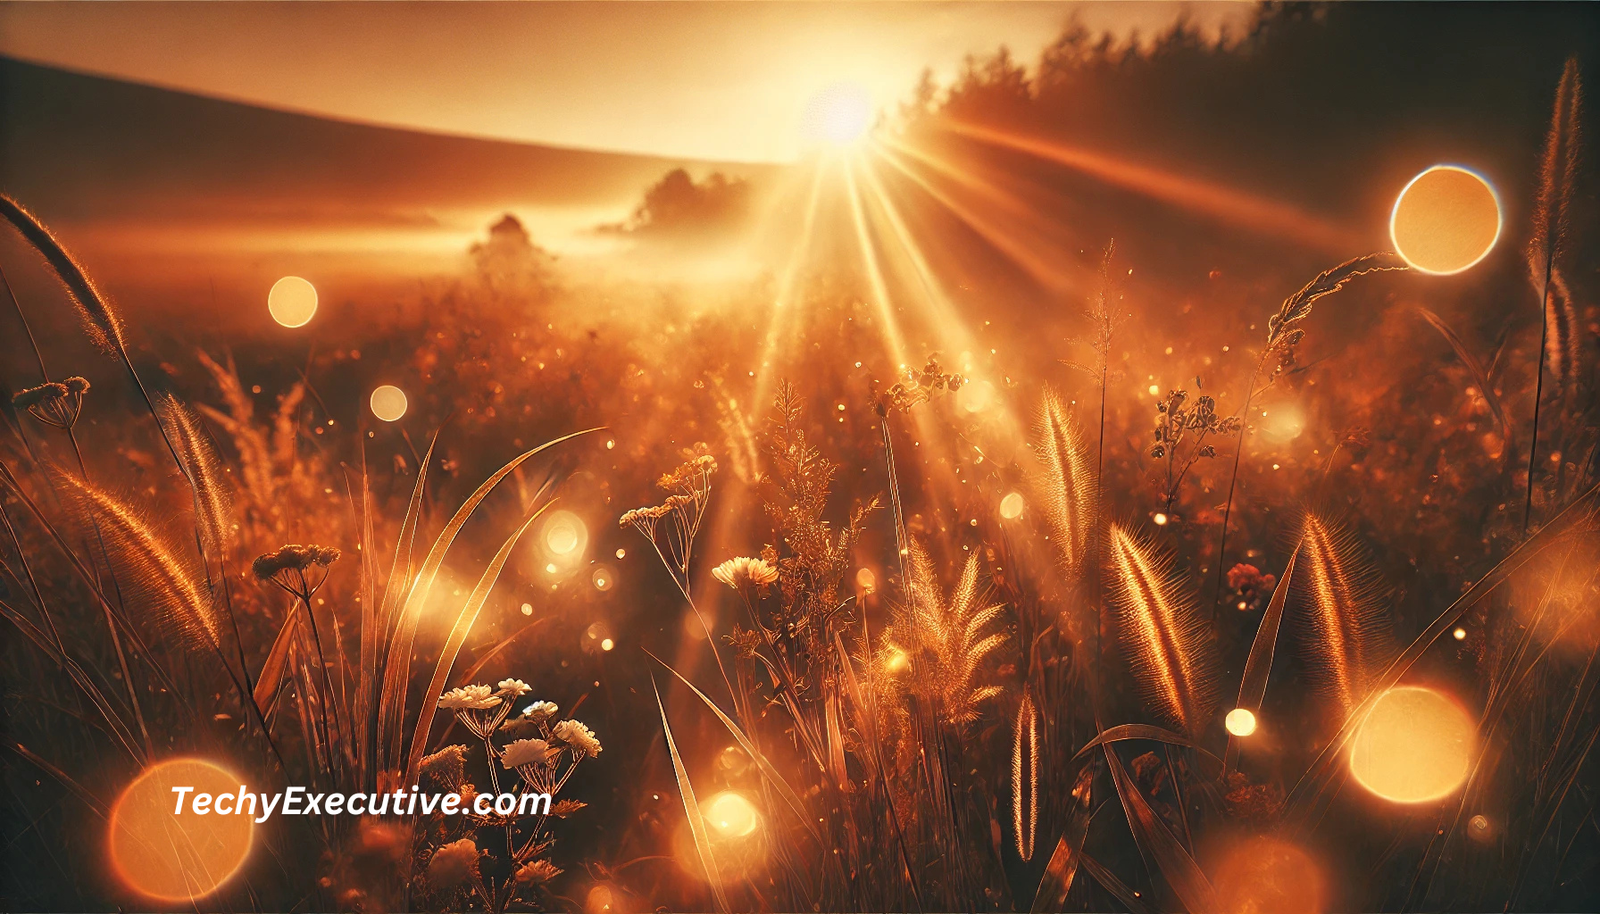
Before diving into the specifics of Photeeq Lens Flare, it’s essential to understand what lens flare actually is. Lens flare is a phenomenon that occurs when a bright light source—like the sun, streetlights, or headlights—enters your camera lens and scatters light inside it. This scattering results in a variety of visual effects, such as light spots, halos, or streaks that appear across your image. In most cases, lens flare is considered a flaw in photography, especially in situations where it interferes with the clarity of the subject.
However, with the advancement of digital photography and image manipulation tools, lens flare has become a sought-after stylistic effect. Photographers often use it to convey a sense of motion, drama, or nostalgia. The beauty of lens flare lies in its ability to mimic real-world lighting conditions, adding an organic, spontaneous feel to an otherwise controlled shot. With Photeeq Lens Flare, this natural effect can be enhanced and customized to achieve a range of stunning results. The software takes the unpredictable nature of lens flare and turns it into a tool for creative control, enabling photographers to decide exactly how much flare they want and where to place it.
What makes Photeeq Lens Flare especially appealing is its ability to simulate different lighting environments. For example, you can use it to replicate the warm, golden hues of a sunset, or the dramatic streaks of headlights cutting through the night. Unlike traditional lens flare, which may be difficult to control and predict, Photeeq Lens Flare gives you full control over the intensity, direction, and style of the flare, allowing you to match it perfectly to your image’s needs.
Why Choose Photeeq Lens Flare?
Unmatched Customization Options
When it comes to creating a personalized, professional image, one-size-fits-all solutions often fall short. That’s where Photeeq Lens Flare stands out. It offers unmatched customization options that give you complete control over how lens flare appears in your photographs. Unlike traditional lens flare, which often feels random and uncontrollable, Photeeq Lens Flare lets you choose the exact type, color, and intensity of the flare. Whether you prefer a subtle, warm glow or an intense burst of light, the software provides all the tools you need to make it happen.
For example, Photeeq Lens Flare allows you to adjust the flare’s brightness and contrast to match the lighting conditions of your image. You can change the direction of the flare to create a specific mood or look, and you can scale it to fit your composition. This level of customization makes it perfect for both subtle enhancements and dramatic effects. It’s not just about adding light; it’s about adding the right kind of light to enhance your image.
Moreover, Photeeq Lens Flare comes with a variety of presets that replicate natural lens flares, from those caused by the sun to flares that appear in artificial light. If you want to evoke a specific mood—whether it’s the soft, golden hour flare or the sharp, stark light of street lamps at night—Photeeq Lens Flare gives you all the options you need to recreate these real-world lighting effects with accuracy and creativity.
Realistic and Cinematic Effects
Photeeq Lens Flare is not just about adding light to an image; it’s about creating a cinematic experience. One of the software’s standout features is its ability to produce realistic, cinematic lens flare effects that transform ordinary photographs into visually stunning compositions. Think about the movies you’ve seen where the sun shines directly into the frame, creating those striking bursts of light. That’s the effect Photeeq Lens Flare can help you replicate in your own photography.
When you apply Photeeq Lens Flare to your images, it mimics the way light behaves in real life, making it feel as though the flare was captured in-camera. Whether it’s the soft, diffused glow you’d see at sunrise or the sharp, intense streaks from headlights on a dark street, Photeeq Lens Flare brings a cinematic realism to your photos. This realism makes it especially popular among photographers who want to add a touch of drama and atmosphere to their work.
By adjusting the strength and positioning of the flare, you can create effects that suit various genres of photography, from moody street photography to bright and airy landscape shots. The cinematic quality of Photeeq Lens Flare is what gives it that “wow” factor, elevating your photographs from simple snapshots to professional-grade, gallery-worthy images. This is particularly useful if you’re working in a creative industry or producing content for platforms like Instagram or blogs, where aesthetics matter and originality counts.
How to Use Photeeq Lens Flare in Your Photography
1. Choose the Right Image for Lens Flare
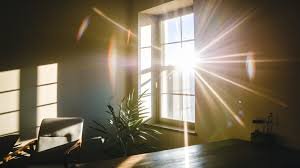
Not every photograph will benefit from a lens flare effect, and it’s essential to start with the right kind of image. Photeeq Lens Flare works best when the light source in the image is either visible or implied. For example, if you’re shooting a sunset, you can use the flare to enhance the glowing light of the setting sun. Similarly, if you’re capturing an urban scene with streetlights or headlights, Photeeq Lens Flare can help add depth and a cinematic flair to the scene.
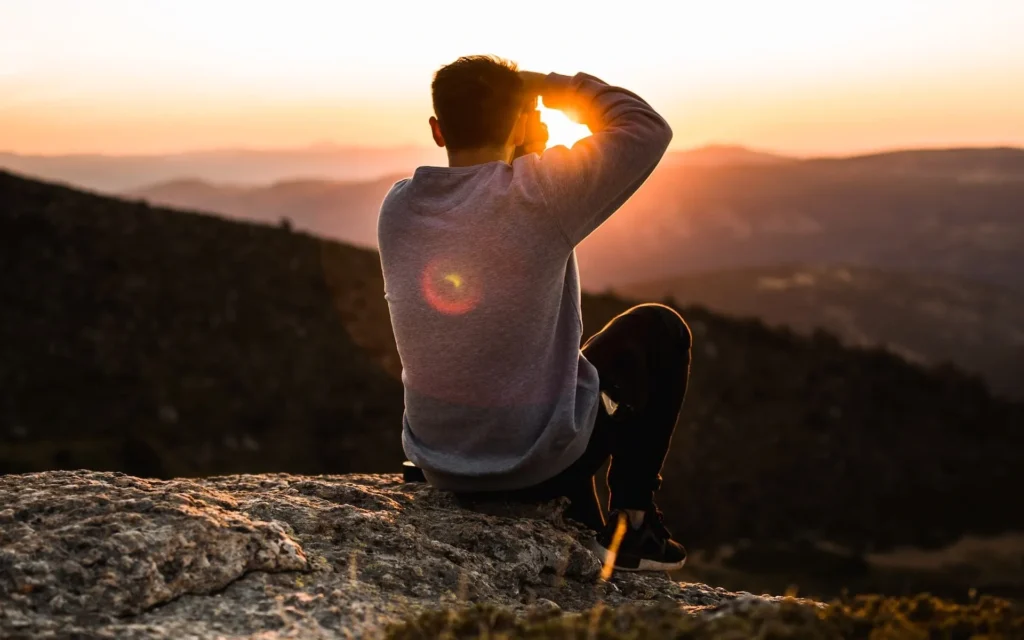
When selecting your image, consider the overall composition. You want the flare to complement the scene, not overpower it. The flare should guide the viewer’s eyes around the image, not detract from the focal point. In portraits, for example, you might want to place the flare to the side or behind the subject, so it adds a touch of light without obscuring their face. For landscapes, positioning the flare in a way that highlights the sun or the horizon can help emphasize the beauty of the scene.
It’s also crucial to consider the color balance of your image. Photeeq Lens Flare allows you to adjust the color of the flare to match the lighting conditions in your photograph. For instance, a warm, golden sunset may pair well with a yellow or orange flare, while a cool, blue-toned image might benefit from a subtle purple or white flare. The goal is to make the flare feel natural, as though it’s part of the original lighting setup, rather than something added artificially.
2. Apply the Flare and Position It Properly
Once you’ve chosen your image, it’s time to apply the Photeeq Lens Flare. The software provides a range of flare types, from subtle glows to sharp, streaked lines of light. The key is to position the flare in a way that enhances the lighting of the scene. For example, you can place it just outside the frame to simulate sunlight or angle it towards the subject to mimic artificial light sources, like street lamps or car headlights.
As you position the flare, consider the overall balance of the image. Too much flare can detract from the subject and make the image look overexposed. Too little flare may not have the desired impact. The beauty of Photeeq Lens Flare is that it allows you to fine-tune the strength and direction of the flare, so you can experiment until you find the perfect balance. You can also adjust the shape of the flare—whether you want it to be a soft, round halo or an angular, streaked line—depending on the mood you’re trying to create.