Introduction
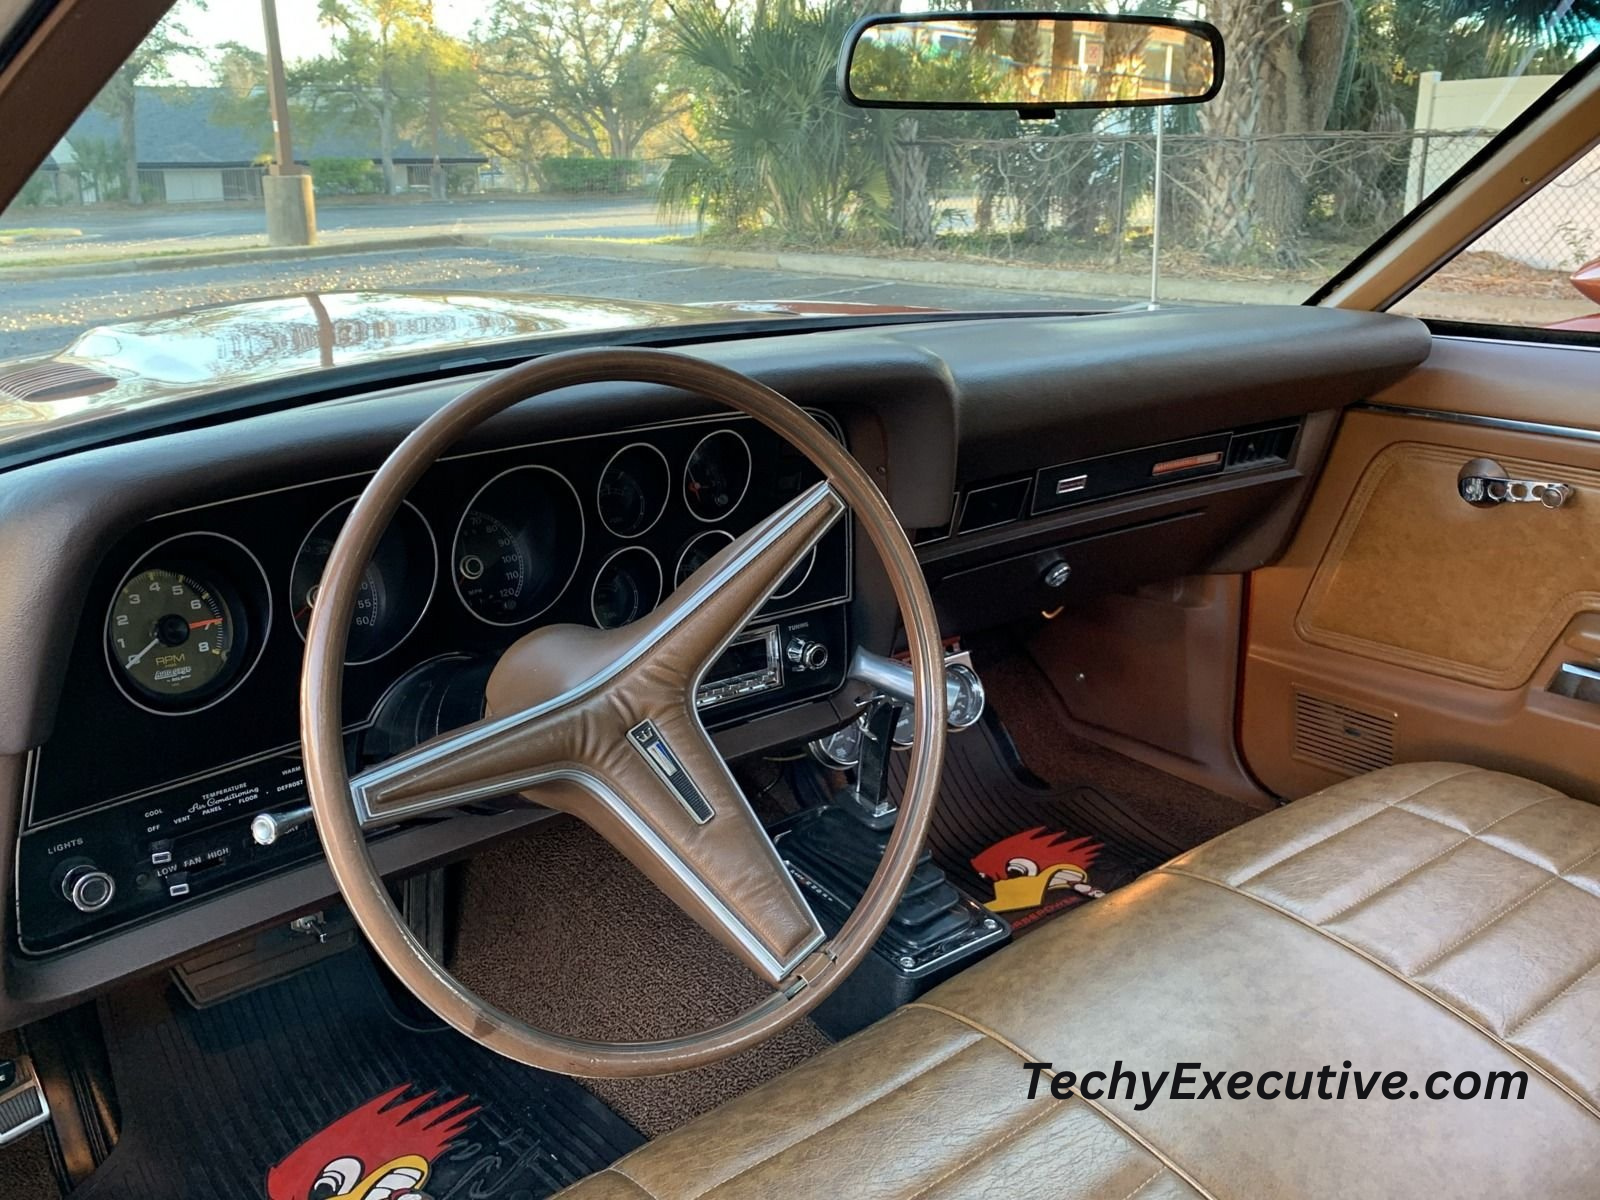
Classic cars are more than just vehicles—they’re a piece of history. The 1974 Ford Ranchero is no exception, known for its distinctive style and powerful performance. For owners of such iconic cars, keeping the interior looking pristine is as important as maintaining the exterior. One often-overlooked area in the restoration of these vehicles is the interior door sill trim 74 Ranchero replacement. Over time, the door sills in these cars can become scratched, worn, and damaged due to constant use. As one of the first things you notice when entering the car, the condition of the door sill trim plays a significant role in your car’s overall aesthetic. Fortunately, replacing or restoring the interior door sill trim is a relatively simple and cost-effective way to enhance the appearance and functionality of your Ranchero’s interior.
In this article, we will explore the step-by-step process of replacing the interior door sill trim 74 Ranchero, highlighting the reasons why this upgrade is essential, how to select the right materials, and tips for proper installation. Whether you’re a restoration enthusiast or simply looking to refresh the interior, you’ll find practical advice and guidance that will help you achieve the perfect finish for your car. By the end of this guide, your Ranchero’s interior will look as good as new, elevating its appearance and ensuring it stands out wherever you go.
Why Replace Your Interior Door Sill Trim on a 74 Ranchero?
Replacing the interior door sill trim 74 Ranchero isn’t just about aesthetics—it’s about practicality, protection, and maintaining the longevity of your vehicle. The door sills in your Ranchero are constantly exposed to the elements and the wear and tear of everyday use. Every time you or a passenger steps in or out of the vehicle, you’re putting stress on the door sill trim. This constant friction causes scratches, dents, and fading, which makes your car’s interior look older than it is. Furthermore, the door sill serves a functional purpose by acting as a protective barrier for your car’s flooring and carpets, preventing dirt, moisture, and other debris from entering the cabin.
Aside from the functional aspects, replacing the door sill trim enhances the visual appeal of your car. A fresh trim will give your Ranchero a sleek, modern look while restoring some of the original charm. This is especially important if you’re aiming for a restoration project or want to maintain the vehicle’s resale value. Even small upgrades like a new door sill trim can make a big difference in how potential buyers perceive your car. When your vehicle’s interior is well-maintained, it gives the impression that the entire car has been taken care of. Whether you’re restoring your 74 Ranchero to its former glory or simply giving it a fresh new look, replacing the interior door sill trim is a small investment that provides long-lasting rewards.
Choosing the Right Material for Your 74 Ranchero Interior Door Sill Trim Replacement
When it comes to selecting the material for your interior door sill trim 74 Ranchero replacement, you have a variety of options, each offering its own unique benefits. Choosing the right material is crucial to ensure that the trim not only looks great but also stands the test of time. The material you choose will also have an impact on the level of maintenance required and the overall feel of your car’s interior. In this section, we’ll delve into the four most common material options: stainless steel, aluminum, vinyl, and custom-made trims.
1. Stainless Steel
Stainless steel is one of the most popular materials for interior door sill trim 74 Ranchero replacement due to its durability, strength, and attractive appearance. Stainless steel has a natural resistance to rust, corrosion, and staining, which makes it an ideal choice for cars that will be driven in varying weather conditions. It is especially beneficial if you live in an area with a lot of humidity or salty air, as it won’t tarnish or deteriorate easily. In terms of aesthetics, stainless steel offers a sleek, polished finish that can give your Ranchero a modern, high-end look. It’s perfect for those who want to maintain the vehicle’s classic charm while adding a bit of contemporary flair.
Maintenance of stainless steel is relatively simple, as it only requires periodic cleaning to maintain its shine. A microfiber cloth and some water or mild cleaner are typically enough to keep it looking fresh. One downside to stainless steel is that it can be prone to scratches if not carefully maintained, but these can usually be polished out. If you’re looking for a trim that will last for many years and require minimal upkeep, stainless steel is an excellent choice.
2. Aluminum
Aluminum is another excellent material choice for interior door sill trim 74 Ranchero replacement. Although it’s lighter than stainless steel, it still offers good durability and resistance to corrosion, making it suitable for both functional and aesthetic purposes. Aluminum is more affordable than stainless steel, which makes it an attractive option for those on a budget or those who don’t need the heavy-duty protection of stainless steel. The material is also highly customizable, available in various finishes such as brushed, polished, or anodized, allowing you to choose the appearance that best suits your style.
One of the standout features of aluminum is its ability to resist oxidation, especially when anodized, making it ideal for long-term use. Anodized aluminum has a protective coating that helps prevent damage from environmental factors such as moisture, dirt, and UV rays. However, aluminum is softer than stainless steel, so it may show signs of wear and tear more easily. While aluminum trim is generally low-maintenance, it may require occasional polishing or refinishing to maintain its appearance.
3. Vinyl and Rubber
For those who prefer a softer, more traditional look, vinyl or rubber trim could be the perfect choice for their interior door sill trim 74 Ranchero replacement. These materials provide a tactile feel that is both comfortable and practical. Vinyl and rubber trims are often seen in older vehicles and are prized for their ability to absorb impact and reduce noise. These materials are especially popular for those looking for a vintage or classic feel for their Ranchero’s interior.
In terms of maintenance, vinyl and rubber trims are relatively easy to clean and maintain. They tend to be more resistant to scratches and scuffs than metal trims, but they may suffer from fading or cracking over time due to exposure to UV rays and general wear. Rubber, in particular, is great for absorbing moisture, which makes it an excellent choice for cars driven in wet or snowy climates. The downside, however, is that vinyl and rubber trims may not offer the same level of long-term durability as metal trims, but they can still be a good option if you’re looking for a budget-friendly, vintage aesthetic.
4. Custom-Made Trims
If you’re after something truly unique and tailored to your specific preferences, custom-made trims might be the way to go. Custom trims can be crafted from a variety of materials, including wood, carbon fiber, and even leather. This option allows you to create a one-of-a-kind design that complements your personal style and the overall look of your 74 Ranchero. Custom-made trims are particularly appealing for car enthusiasts who are looking for a unique, high-end interior upgrade.
While custom trims can be expensive, they offer a level of personalization that other materials cannot match. Whether you want to add a touch of elegance with a wood grain finish or go for a sporty, modern look with carbon fiber, custom-made trims allow you to showcase your individuality. However, it’s important to note that custom-made trims may require more upkeep than off-the-shelf materials, and the installation process may be more complex, depending on the material chosen.
Step-by-Step Guide to Replacing Your Interior Door Sill Trim
Now that you’ve decided on the perfect material for your interior door sill trim 74 Ranchero replacement, it’s time to get down to the practical aspects of the replacement process. Replacing the door sill trim in your Ranchero is a straightforward task that can typically be completed in a few hours, depending on your skill level and the complexity of the trim you’ve chosen. Below is a detailed step-by-step guide to help you through the installation process.
Step 1: Gather the Necessary Tools and Materials
Before you begin, gather all the tools and materials you’ll need for the replacement. These typically include:
- The replacement interior door sill trim 74 Ranchero (of your chosen material)
- A screwdriver (Phillips or flathead depending on your trim)
- A trim adhesive or double-sided tape (if required by the material)
- A cleaning solution (mild soap and water)
- A microfiber cloth
- Pry tools (if necessary)
Having all of these materials on hand will ensure that the replacement process goes smoothly and without interruptions. It’s a good idea to lay out everything in an organized manner to save time during the project.
Step 2: Remove the Old Door Sill Trim
The first step in replacing the interior door sill trim 74 Ranchero is to remove the old trim. Start by inspecting the existing trim to determine how it’s attached. Some trims may be held in place by screws, clips, or simply adhesive. Use your screwdriver or trim removal tools to gently remove any screws or clips. If the trim is only secured with adhesive, carefully use a flathead screwdriver or a trim removal tool to loosen and lift the old trim from the surface.
Take care not to damage the door sill itself or the surrounding areas. Once the trim is removed, check the door sill for any leftover adhesive, dirt, or debris that may need to be cleaned off before installing the new trim.
Step 3: Clean the Door Sill Area
Before you install the new trim, it’s essential to clean the door sill area thoroughly. Use a mild soap solution and warm water to clean the surface, removing any dirt, grease, or old adhesive residue. Once the area is clean, dry it completely with a microfiber cloth to ensure that the new trim adheres properly.
Cleaning the surface before installation will also prevent any dirt or moisture from becoming trapped under the new trim, which could cause the trim to lift or wear down prematurely.